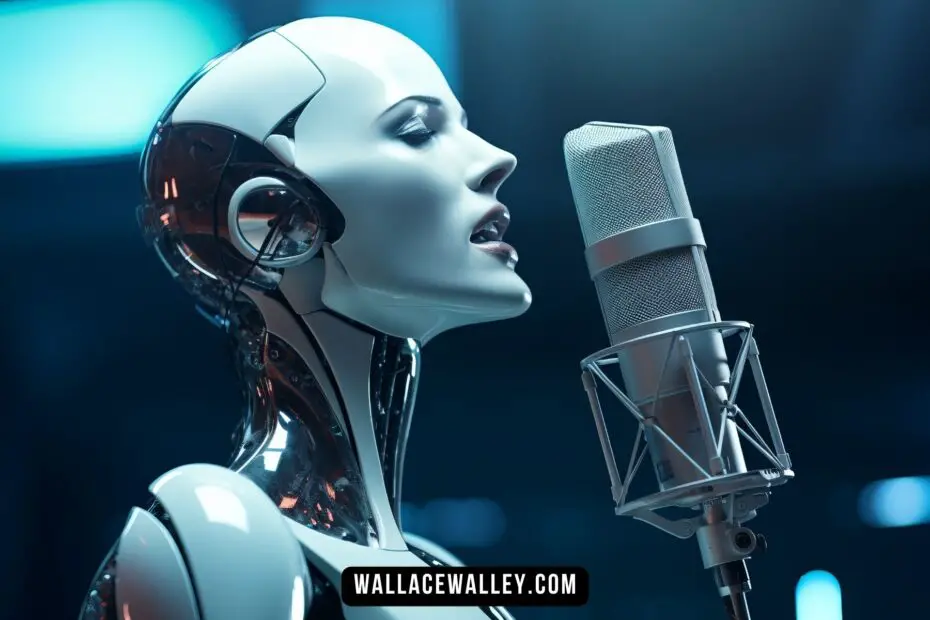
Have you ever wished you could make your photos talk or sing? Imagine how fun and creative it would be to animate your portraits with realistic facial expressions and lip-sync. Well, thanks to Alibaba’s EMO AI, you don’t have to imagine anymore. You can do it yourself in just a few minutes!
In this article, we will show you how to access and use EMO AI with a simple 8-step guide. You will learn how to prepare your portrait photo and audio clip, upload them to the EMO AI web demo, customize the animation parameters, and generate your video.
You will also see some amazing examples of what EMO AI can do and how you can share your creation with the world.
Read Also: Cred.Ai Review: A Supercard For Everyone
Ready to give your portraits a voice? Let’s get started!
How to Access and Use EMO AI
In this step-by-step guide, we’ll walk you through the process of accessing and using EMO AI to bring your ideas to life.
Step 1: Prepare Your Portrait Photograph
Before diving into EMO, make sure you have a high-quality portrait photograph of yourself or the subject you want to animate.
The better the photo, the more realistic and engaging your final video will be. Ensure good lighting, clear details, and a neutral background for optimal results.
Read Also: Alaya AI Review: Features, Price, How To Use & More
Step 2: Export The Audio Track
Next, create or select an audio track that complements your animation. It could be your voice, music, or any other sound you’d like to incorporate.
Export the audio file in a compatible format (such as MP3 or WAV) and keep it handy for the next steps.
Step 3: Access The EMO AI Web Demo
Visit the EMO AI website and access the web demo. You don’t need to install any software; everything happens right in your browser. EMO AI is user-friendly, making it accessible even for beginners.
Step 4: Upload Your Files
Once you’re on the EMO AI platform, upload your portrait photograph and the audio track. Follow the instructions to ensure proper alignment and synchronization between the image and sound.
Read Also: Supermeme.Ai: A Fun And Efficient AI Meme Generator
Step 5: Customize Animation Parameters (Optional)
EMO allows you to tweak various parameters to personalize your animation. Adjust facial expressions, eye movements, and other features to match the mood of your audio. You can also experiment with different styles and effects.
Step 6: Generate Your Video
Hit the “Generate” button, and watch as EMO brings your portrait to life! The AI algorithms analyze your photo and audio to create a dynamic animation. Be patient; this step may take a few minutes.
Step 7: Review And Export
Once the animation is ready, review it carefully. Make any necessary adjustments to ensure it looks just the way you want. EMO AI provides a preview feature, so take advantage of it. When you’re satisfied, export the final video in your preferred format.
Step 8: Share Your Creation!
Congratulations! You’ve successfully used EMO to create an animated video. Now it’s time to share your masterpiece with the world.
Post it on social media, embed it in your blog, or use it for professional presentations. Get creative and let your imagination run wild!
Read Also: Cred.Ai Login: Step By Step Guide
Conclusion
We hope you enjoyed this article and learned how to use EMO to animate your portraits with speech or song. EMO AI is a powerful and easy-to-use AI system that can turn any photo into a realistic talking/singing head video.
It uses a cutting-edge diffusion model approach to produce fluid and natural facial animations that match the audio cues.