
Any serious website owner is likely to use at least one of Google’s tools on his website. In this tutorial, we will see how to install and use several of these services on WordPress thanks to the official plugin developed by the American firm itself: Google Site Kit.
If you encounter any problems while following this tutorial, consider calling a freelance developer who specialized in WordPress to help you correct them.
What is Google Site Kit?
The Google Site Kit plugin allows you to connect and use six Google services on a WordPress site. The services in question are :
- Analytics, to retrieve statistics on visits and visitors;
- Search Console used to optimize the referencing of a website on the Google search engine;
- AdSense manages the ads displayed to pay for the site;
- PageSpeed Insights, which analyzes the performance of your pages to help you improve your site;
- Optimize, tests various paths to perform an action and indicates the most efficient for the majority of users;
- Tag manager, allows you to connect multiple third-party services with a dashboard (examples: Facebook pixel, Pinterest pixel, Google Analytics, etc).
How to install Google Site Kit on WordPress?
Installing Site Kit by Google is very easy. Just install it from your WordPress site like any other plugin.
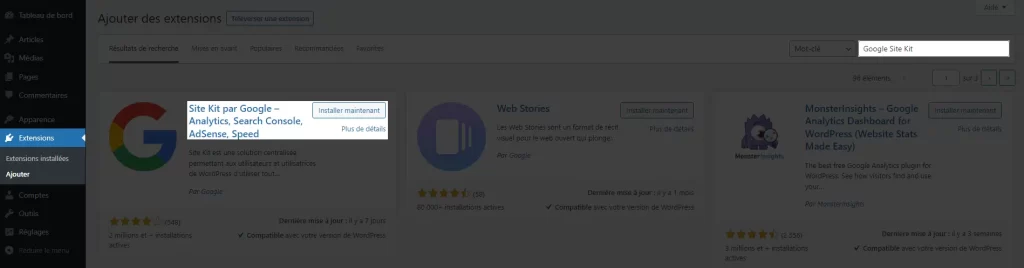
Go to your WordPress administration, then to the Plugins > Add menu. In the top bar of the page that appears, enter the name of the plugin “Google Site Kit“. Wait for the search and then see the first suggestion: “Site Kit by Google – Analytics, Search Console, AdSense, Speed”. Then click on the “Install now” button. Don’t forget to activate it!
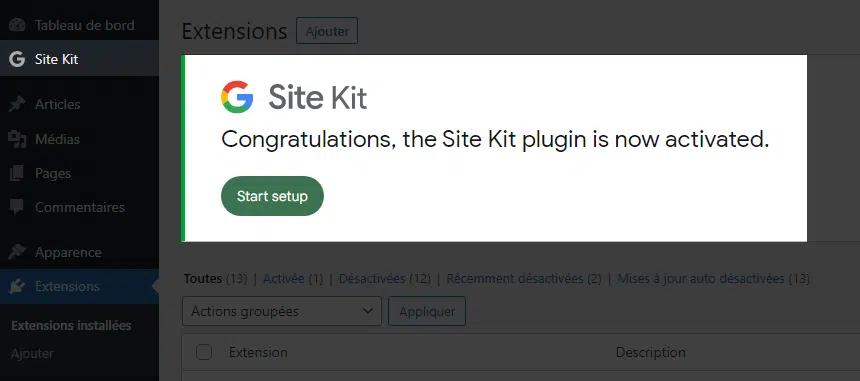
It is installed. After activation, you will be redirected to the extension listing page, where an insert is available to access the plugin dashboard. The latter is also accessible from the administration menu: Site Kit > Dashboard.
How to setup Google Site Kit on WordPress
Go to the plugin dashboard in the WordPress administration: Site Kit > Dashboard. If you haven’t yet connected your WordPress to your Google account, now is the time to do so. Click on the “Sign in with Google” button.
You cannot enable services on a local WordPress; it must be accessible online.

Follow the steps indicated by authorizing the requested access until the connection is validated.
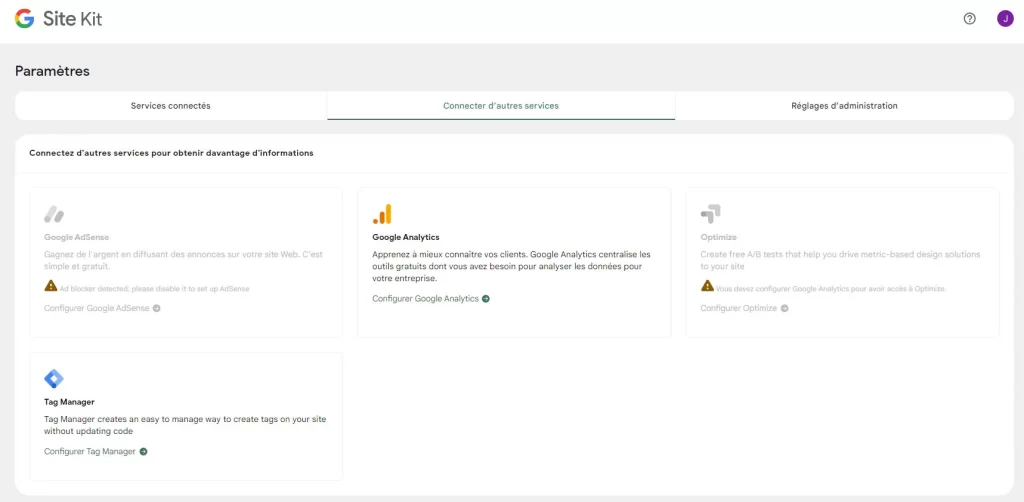
Now go to the Site Kit > Settings menu. You will find three tabs:
- Connected Services: to manage the Google services you have already configured via the Google Site Kit plugin.
- Connect other services: to configure services that you have not yet done so.
- Administration settings: these are the global settings.
Once the services are connected, the dashboard displays an overview of each activated service.
The Google Search Console and Google PageSpeed services are automatically configured with the main plugin connection. But let’s see how to connect the other services.
Connecting Google Analytics to WordPress with Google Site Kit.
It is important to create or have an Analytics setup (account and ownership).
Go to the Site Kit plugin settings and more precisely to the “Connect other services” tab. Locate the “Google Analytics” insert and click on the “Configure Google Analytics” button.

Follow the connection steps by accepting the authorizations requested by Google. Once finished, you will arrive at the configuration form. Start by filling in the account, then the property. When the input is complete, validate and reconfirm the authorizations.

Connecting Google AdSense to WordPress with Google Site Kit.
It is important to create or have an AdSense configuration before setting it up on your WordPress.
Go to the Site Kit plugin settings and more precisely to the “Connect other services” tab. Locate the “Google AdSense” insert and click on the “Configure Google AdSense” button.

Follow the connection steps by accepting the authorizations requested by Google. When everything is good, you will arrive at the configuration form that you can fill in according to your needs.
Connecting Google Optimize to WordPress with Google Site Kit
It is important to create or have an Optimize configuration before setting it up on your WordPress.
Go to the Site Kit plugin settings and more precisely to the “Connect other services” tab. Locate the “Optimize” insert and click on the “Configure Optimize” button.

Follow the connection steps by accepting the authorizations requested by Google. In the end, a field asks you for your Optimize container ID. Fill it in and validate it with the “Configure Optimize” button.

Connect Google Tag Manager to WordPress with Google Site Kit
A Google Tag Manager configuration is required to set it up on your WordPress.

Follow the login steps by accepting the permissions requested by Google. At the end of the connection tunnel, you will see a form that allows you to choose the account and container to connect. Once this is done, validate everything with the “Confirm and continue” button.

Last tip for installing and using the Google Site Kit plugin on WordPress
Connecting Google services on WordPress can’t be easier than this. All you need to do is install the Google Site Kit plugin and configure the connection to the services. Remember to create the accounts and configure the services you need before connecting them to your WordPress.